
This page is hidden, for a reason: it is just a list of tricks that I use but that I do not expect to be useful for the general public.
Installing Julia
Installing Julia is easy. You just need to download the following file from the official repository and untar it. After this,
wget https://julialang-s3.julialang.org/bin/linux/aarch64/1.9/julia-1.9.3-linux-aarch64.tar.gz
tar zxvf julia-1.9.3-linux-x86_64.tar.gz
Add Julia to your Path. Open your bashrc
nano ~/.bashrcAdd to the end the Absolute path to Julia, which will look like
export PATH="$PATH:/path/to/julia-1.9.2/bin"Now source your bashrc
source ~/.bashrcYou can now start Julia from terminal, using simply
juliaInstalling Julia kernel on jupyter
Jupyter notebooks are really useful. In order to be able to use them at their best, we must be able to add kernels with our own specifications.
Create a Julia Environment
Create a Julia Environment
The first step requires the creation of a Julia environment. Let us assume that you are in a test_environment folder. You just have to create a new environment. 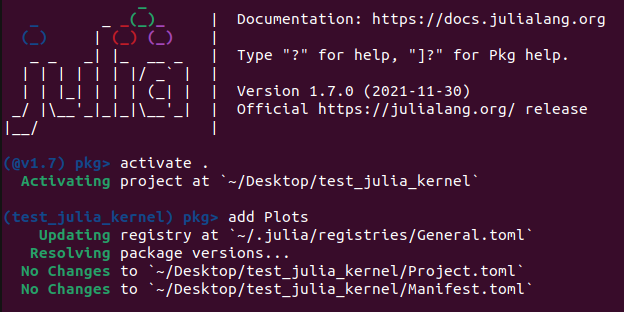 Now you can add all the packages you want!
Add Jupyter Kernel
Add Jupyter Kernel
The second step requires to use IJulia to add your Julia kernel to Jupyter.
using IJulia
installkernel("Julia_env nt8", env=Dict("JULIA_NUM_THREADS"=>"8"))
#this will create a kernel using 8 threads
More info can be found on the IJulia Documentation.
Julia and VSCode
VSCode is a great IDE for Julia, the one I am currently using. What you need, in order to freely add virtual envs to the stuff you are doing, is to add the correct path to your Julia installation, in the Julia extension settings 
Benchmarking
When you want to show benchmark in your website (or in your package documentation), it is useful to perform them locally on your laptop, save the benchmark result and show them (after daclaring which hardware was employed!).
For instance, the benchmark presents on the Effort.jl page, have been produced with the following code
suite = BenchmarkGroup()

suite["Effort"] = BenchmarkGroup(["tag1"])

suite["Effort"]["Monopole"] = @benchmarkable Effort.get_Pℓ($input_test, $bs, $f, $Mono_Emu)
suite["Effort"]["AP_GK"] = @benchmarkable Effort.apply_AP_check($k_test, $Mono_Effort, $Quad_Effort, $Hexa_Effort,  $q_par, $q_perp)
suite["Effort"]["AP_GL"] = @benchmarkable Effort.apply_AP($k_test, $Mono_Effort, $Quad_Effort, $Hexa_Effort,  $q_par, $q_perp)

tune!(suite)

results = run(suite, verbose = true)

BenchmarkTools.save("effort_benchmark.json", results)
In order to see the results, just load the benchmark file and use
benchmark = BenchmarkTools.load("effort_benchmark.json")

benchmark[1]["Effort"]["AP_GL"]
Distributed computing
Julia Envs & Distributed computing
If you want to use a Julia environment with distributed computing, it is not enough to start the julia REPL or run a script using the --project flag: if you add a process, this will use the main julia environment. Remember, when creating processes, that you should pay attention to the env you are using...with the flag exeflags="--project=$(Base.active_project())"
Create Artifact
Largely based on this. This is what we are doing to create the ACTPol lite likelihood.
using Artifacts, ArtifactUtils, ACTPolLite

tempdir = mktempdir()

npzwrite(joinpath(tempdir,"win_func_d.npy"), win_func_d)
npzwrite(joinpath(tempdir,"win_func_w.npy"), win_func_w)
npzwrite(joinpath(tempdir,"cov_ACT.npy"), cov_ACT)
npzwrite(joinpath(tempdir,"data.npy"), data)

gist = upload_to_gist(artifact_id)

add_artifact!("Artifacts.toml", "DR4_data", gist)
In the package, add a function __init__() such as
function __init__()

    global win_func_d = npzread(joinpath(artifact"DR4_data", "win_func_d.npy"))
    global win_func_w = npzread(joinpath(artifact"DR4_data", "win_func_w.npy"))
    global cov_ACT = npzread(joinpath(artifact"DR4_data", "cov_ACT.npy"))
    global data = npzread(joinpath(artifact"DR4_data", "data.npy"))

end